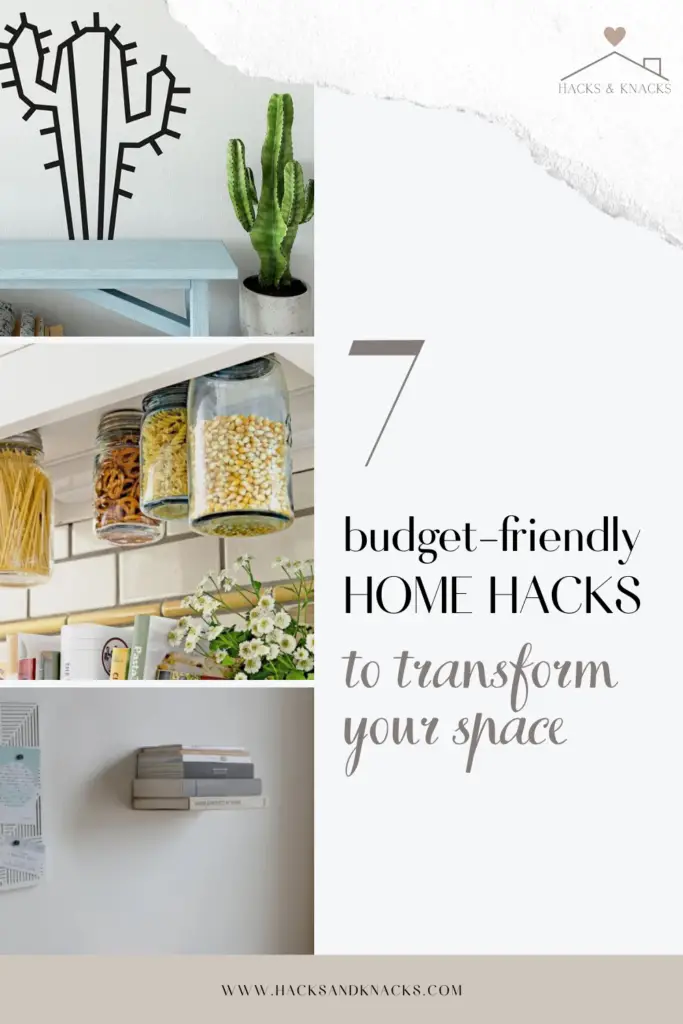
What’s inside this article: Step-by-step instructions for seven easy and budget-friendly DIY home hacks to make your home look adorable when you’re on a tight budget!
Disclaimer: This post contains affiliate links.
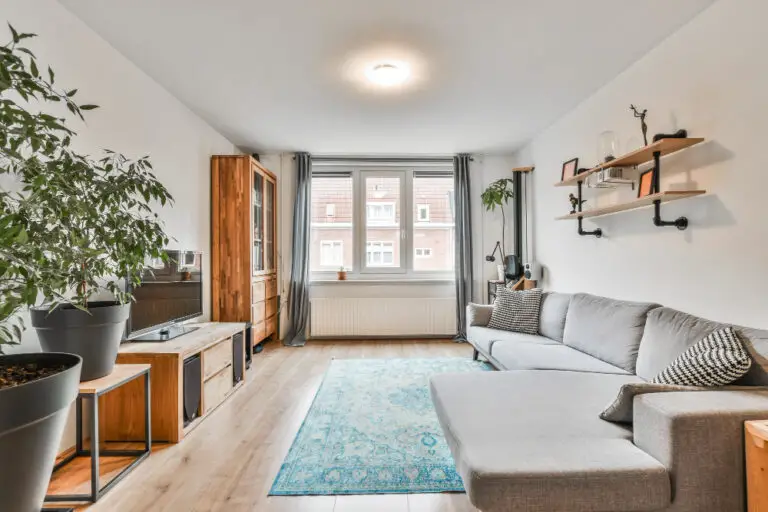
Are you tired of your living space looking drab and outdated? Renovations can be costly, but don’t worry! With a little creativity and some DIY magic, you can transform your home without breaking the bank.
In this blog post, we’ll explore seven budget-friendly DIY home hacks to breathe new life into your space. These hacks will make your home feel fresh and inviting, from repurposing old items to adding unique touches.
DIY Home Hacks on a Budget
Alright, let’s get started!
1. Chalkboard Paint Wall
Turn any wall into a functional and fun chalkboard with chalkboard paint. This hack is perfect for your kitchen, home office, the kids’ playroom.
Instructions:
- Prepare the wall: Clean the wall surface thoroughly to remove any dirt or debris.
- Mask and protect: Use painter’s tape to mask off the edges and protect surrounding areas from paint splatter.
- Apply the chalkboard paint: Follow the manufacturer’s instructions for applying the chalkboard paint. Usually, two to three coats are recommended, with drying time in between each coat.
- Condition the chalkboard: Once the paint is dry, condition the chalkboard by rubbing the side of a piece of chalk all over the surface and then wiping it off with a dry cloth.
2. Furniture Upcycling: Vintage Nightstand
Give new life to an old or second-hand nightstand with a touch of paint and creativity.
Instructions:
- Prepare the nightstand: Clean the nightstand and sand it lightly to create a smooth surface, then wipe it clean with a damp cloth to remove any dust.
- Prime: Apply a thin layer of oil-based primer and allow it to dry completely.
- Choose your paint: Pick a color that matches your room’s decor or use a bold accent color.
- Apply the paint: Using a paintbrush or a foam roller, apply the paint evenly to the nightstand’s surface. You may need multiple coats for complete coverage. Always allow your paint to dry completely between coats.
- Add decorative elements: If you’re feeling extra adventurous, get creative and add stencils, washi tape, or new hardware to give the nightstand a unique look.
Check out how I used this technique to refinish my bedroom closet doors.
3. Invisible Bookshelves
Create the illusion of books magically floating on your walls with invisible bookshelves.
Instructions:
- Gather materials: You’ll need L-shaped brackets, screws, a drill, and books (hardcover works best).
- Mark the wall: Decide where you want your floating bookshelves to be, and mark the spots for the brackets.
- Install the brackets: Drill them into the wall at the marked spots, ensuring they are level and secure.
- Stack the books: Place one book on the bottom of the bracket, then stack more books on top until the bracket is hidden. The books will appear to be floating.

4. Photo Collage Wall
Personalize your space with a photo collage wall showcasing your favorite memories.
Instructions:
- Select your photos: Choose a mix of photos, artwork, and other memorabilia you want to display.
- Arrange the layout: Lay out the photos on the floor to decide on the best arrangement before hanging them on the wall.
- Hang the photos: Use adhesive hooks, washi tape, or picture-hanging strips to secure the photos on the wall, following your chosen layout.
5. Mason Jar Organizers
Declutter and organize small items in your bathroom or office using repurposed mason jars.
Instructions:
- Gather mason jars: Collect mason jars in various sizes.
- Clean and paint (optional): Clean the jars thoroughly and paint the lids with your chosen color (if desired).
- Mount the lids: Attach the lids to the bottom of a shelf or a wooden board using hose clamps or super glue.
- Screw the jars onto the lids: Once the lids are secure, twist the mason jars onto them, creating convenient and stylish organizers.

6. Washi Tape Wall Art
Speaking of washi tape, use it to elevate your walls. Washi tape is a versatile and removable decorative tape that comes in various colors and patterns. Check out these 15 ideas.
Instructions:
- Choose your design: Decide on a geometric pattern, stripes, or any design you like.
- Measure and mark: Use a level and pencil to mark where you plan to place the tape.
- Apply the tape: Carefully apply the washi tape, following your marked lines and creating the desired design.

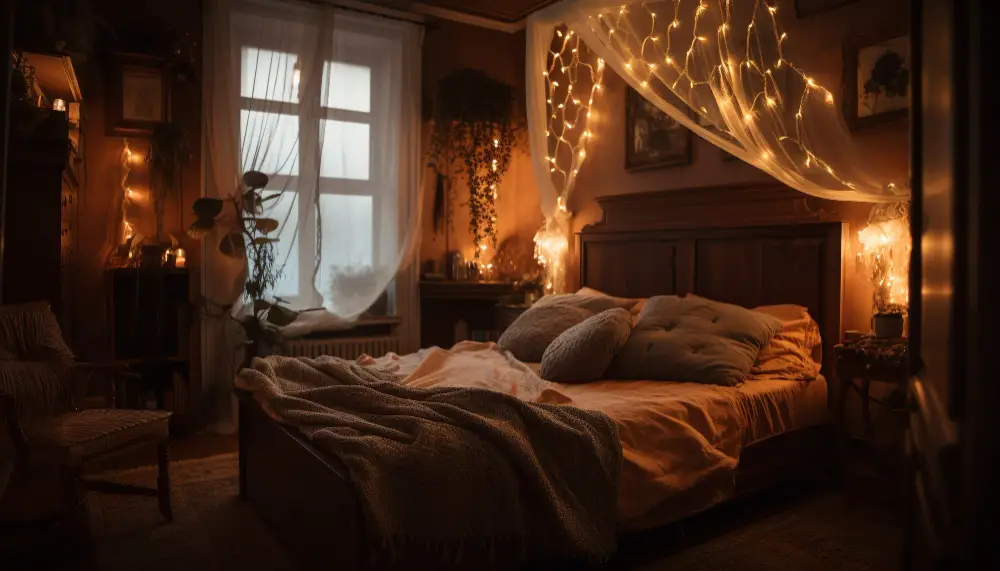
7. Fairy Light Canopy
Create a dreamy and cozy atmosphere by hanging fairy lights above your bed or in a reading nook.
Instructions:
- Gather fairy lights: Purchase enough fairy lights to span the area you want to cover. There are many varieties of fairy lights available, and they’re generally very affordable.
- Install hooks: Install removable adhesive hooks or cup hooks on the ceiling, evenly spaced.
- Hang the lights: Drape the fairy lights over the hooks to create a canopy effect.
Transforming your home on a budget is entirely possible, and these creative and practical DIY home hacks are a great starting point.
From adding a chalkboard wall for jotting down notes to creating a cozy ambiance with fairy lights, these hacks will inject personality and style into your space without emptying your wallet.
So, roll up your sleeves, get creative, and enjoy the rewarding experience of making your home a true reflection of your unique taste and personality!